Usually…
…your webcam just sucks, right? Doesn’t matter if you have a topNotch MacBook spaceship, some random Dell business brick or your moms old Acer. The. Webcam. Just. Sucks. Everytime.
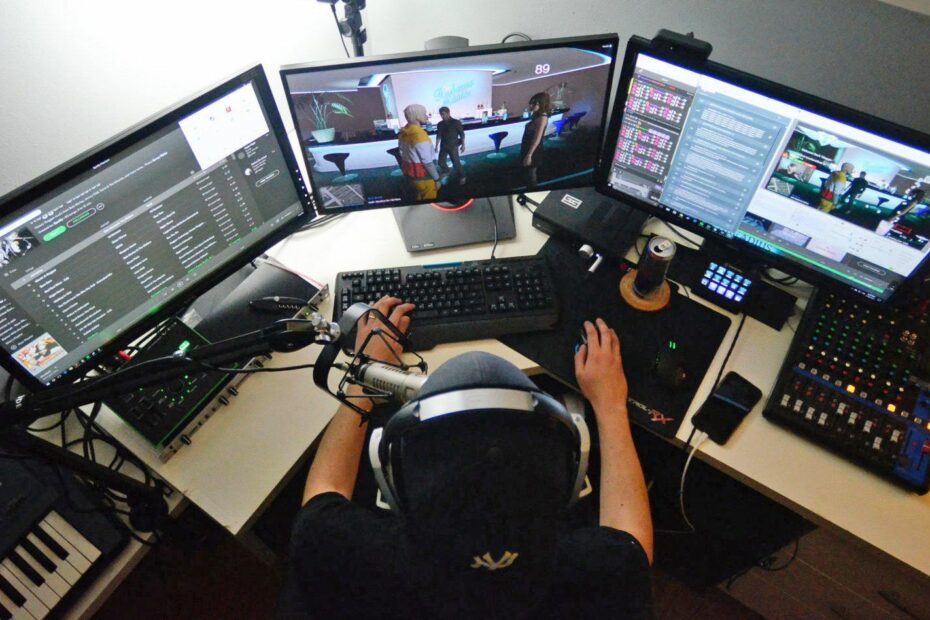
Noisy picture, flat colors, contrast like a bag of flour and a field of view which is never quite wide or narrow enough. On top its in the bezel of your screen and people see either your face from the nose downwards or your screen is tilted too much.
Fortunately, there’s a simple solution if you own a Canon Camera.
So HOw does it work?
Early 2020 Canon released its EOS Webcam Utility. Its 100% free, no ads and after they fixed some bugs in the beta its works flawlessly. Check the list of supported cameras to see if your model is among the chosen.
After downloading and installing the package, you get a new device in the list of your available webcams. Its conveniently named EOS Webcam Utility. If you don’t have a working camera attached, the driver shows a default picture:
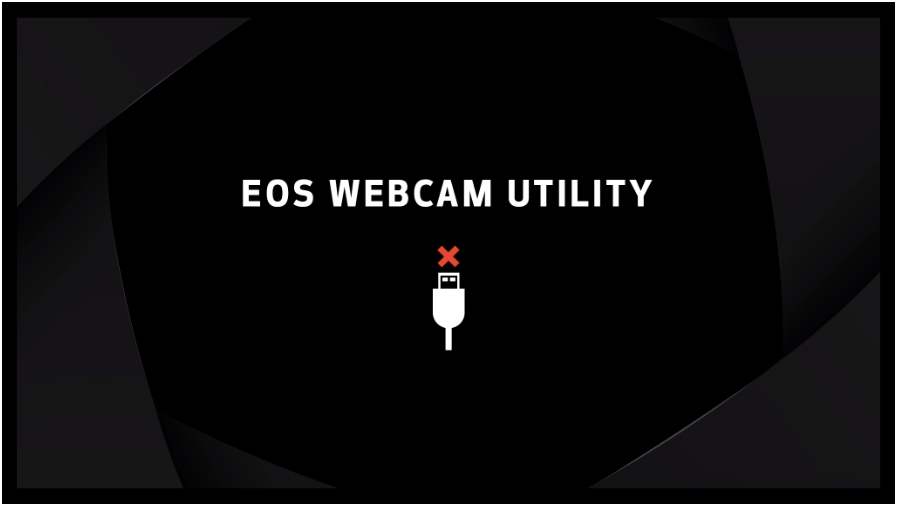
This will be shown, no matter what. If your camera randomly crashes or the battery dies its nice to have some predictability. Its also important to mention that the driver doesn’t provide audio from the camera. Presumably to save on bandwith for the older USB2.0 models. Usually its not that great anyway.
After connecting your camera with your computer via USB, it just works. Provided that you switched on the camera and removed the lens cap 😉
One word on accessories: Canon suggests to buy some of their Video-Kits. This includes a monkey tripod, an AC adapter and a USB cable. Nowadays everybody should have at least one USB cable laying around. For the AC Adapter you could buy any aftermarket product from ebay. I had no issues with these so far. If you want to be really fancy, get one of these Manfrotto Magic Arms with a camera mount attached to it. Gives you more flexibility and stability than everything else. Except a proper tripod maybe.
Exposure Settings
The nice thing with having a proper camera instead of a built in or external webcam is that you can actually adjust the exposure settings to enhance image quality.
Canons suggestion again is to use automatic mode and just go for it. And thats totally fine. It’ll just work and will be lightyears better than any of your colleagues picture quality. If you on the other hand really want to stand out, you could setup the camera for more flexibility and quality.
I own a 5D MK3 Model, so the way it works might be a little different for your specific model. However the basics are pretty much the same.
- In Photo Mode use the Q button to select Exposure Compensation for the thumbwheel.
- Use Aperture Priority Mode – AV
- Select an apterture of around 5.6 – this will give you reasonably good low light performance without having to crank up the ISO too much and thus increasing sensor noise and on the other hand doesn’t require too much focus adjustment or stiff sitting.
- Put the camera into Video Mode.
- Use Manual Focus – you’ll be sitting pretty much in the same spot anyway. If really necessary, you can adjust the focus by hand. Autofocus tends to constantly readjust, which gets annoying over time. Especially for your colleagues.
- The shutter time should be chosen by the camera automatically with 1/30s.
That’s it! During your online meeting, when you get the feeling its too dark or too bright just use the thumbwheel on the back and dial a few clicks up or down. This will adjust the ISO.
Thats about it. I will write a follow up on how to use the Eos Webcam Utility in OBS Studio to spice things up a bit.
Let me know if you encouter any issues!
HTH, JN
So cool julius
Thank you!!1
I am not sure where you’re getting your information, but great topic. I needs to spend some time learning more or understanding more.
Thanks for excellent information I was looking for this info for my mission.